GB Camera Converter
Ever dreamt of owning a Game Boy Camera? Or maybe you just enjoy that crunchy, pixelated retro aesthetic? Either way, I built a little tool for you: the GB Camera Converter!
Why emulate a toy camera?
Released in 1998, the Game Boy Camera was one of the earliest (and quirkiest) portable digital cameras. It could only capture black-and-white images at 128×112 pixels, it stored just 30 photos at a time, and yet it remains beloved for its lo-fi charm.
The original hardware achieved its distinctive look through very simple image processing: coarse quantization to four shades of gray (the same palette used in Game Boy games), combined with visible ordered dithering artifacts.
Since the hardware is now rare and difficult to extract files from, I wanted to recreate that specific imperfect look in software.
How the look is recreated
My script follows roughly the same stages that the Game Boy Camera hardware performed, though using modern tools like Pillow (PIL) and NumPy in Python.
1. Resize to the Game Boy resolution
Everything starts with the resolution. The camera saved images at 128×112 pixels. The script crops your picture to that 8:7 aspect ratio and resizes it directly, so you end up with the same chunky base.
img_fit = ImageOps.fit(img_gray, (128,112), Image.Resampling.LANCZOS)2. Reduce to four tones
The original Game Boy Camera images are captured and stored using only four shades of gray (2 bits per pixel), matching the Game Boy’s hardware display capabilities. The script quantizes brightness levels to four discrete values, just like the original camera.
Where the original only provided “gray,” I also allow custom palettes — e.g. the green tones of the original Game Boy, “berry” reds, or even vaporwave-inspired colors.
palette_indices = np.round(dithered_pixels / 85).astype(np.uint8)3. Simulate dithering
If you’ve looked at real Game Boy Camera photos, you’ll notice a characteristic “grain” made from repeated ordered patterns—this is due to ordered dithering, which distributes quantization thresholds in a structured way.
To mimic this, you can use a 4×4 Bayer matrix scaled across the whole image:
DITHER_MATRIX = np.array([
    [ 0,  8,  2, 10],
    [12,  4, 14,  6],
    [ 3, 11,  1,  9],
    [15,  7, 13,  5]
])
threshold_map = (np.tile(DITHER_MATRIX, (height//4, width//4)) / 16.0 - 0.5) * (step_size * dither_intensity)
Here, step_size is the intensity range for each of the four quantization levels (typically 64 if mapping 0–255 into 4 bins).
Adding this threshold before quantization gives you the authentically crunchy dithering artifacts seen in classic Game Boy Camera photos.
4. Additional contrast tricks
On the Game Boy’s tiny reflective screen, images had very low dynamic range. The converter lets you push contrast manually or use auto-contrast, which stretches brightness levels while still keeping only four. That way, depending on the photo, you can make it look more authentic or more legible.
5. Upscale without smoothing
Finally, the image is scaled back up (by default 4×) with nearest-neighbor resampling, to preserve sharp, blocky pixels.
See it in action
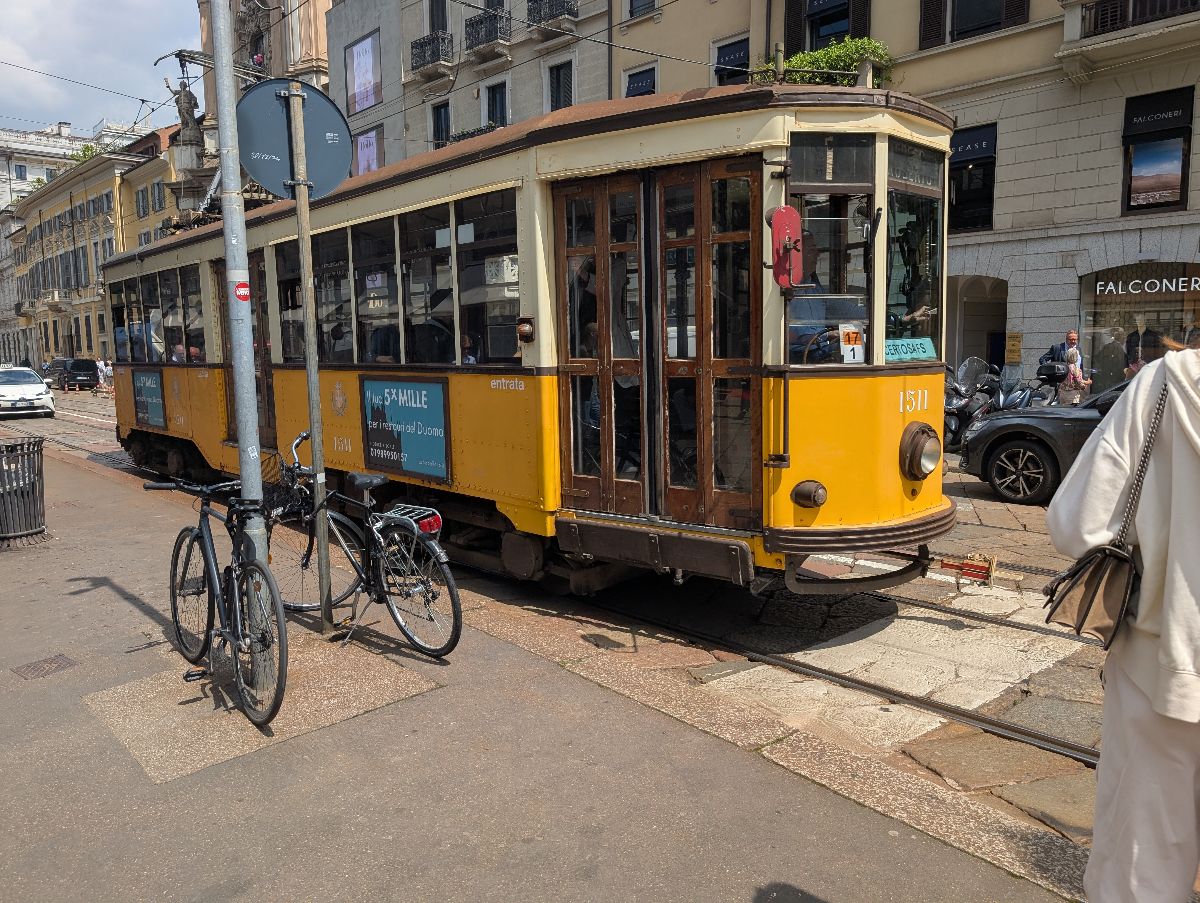
Original photo (taken on a Google Pixel 8):
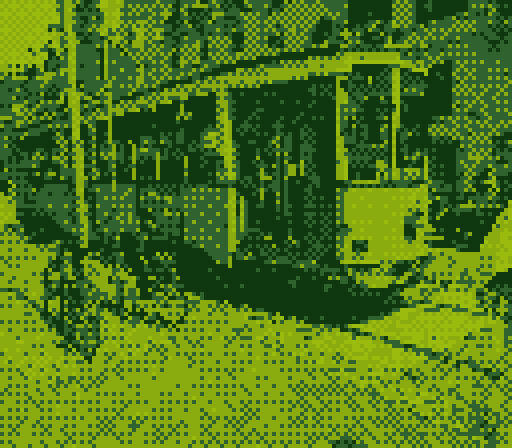
Converted with GB Camera Converter (green palette):
Try it yourself with the online demo, or check out the source code on GitHub.
Closure
Thank you for reading through this little project breakdown! I hope I’ll be able to share more interesting projects in the future; until then, happy pixelation!